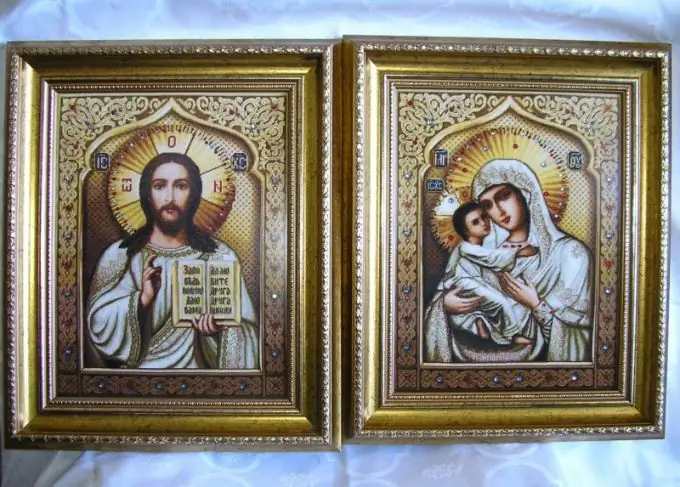
For believers, symbols of faith - icons are very important. These images inspire confidence and hope. They can be either huge in size or fit in the palm of your hand. Accordingly, they will all be fastened in different ways.

Necessary
- - icons;
- - automobile;
- - timber;
- - drying oil;
- - brush;
- - wall;
- - screwdriver;
- - screws;
- - pencil;
- - drill.
Instructions
Step 1
Decide on the size of the icon you want to attach. In general, if you have ever been to a church, you have seen how huge images are located on all walls and even ceilings. It is unlikely that you will ever have to equip temples or churches, so think about what size you need an icon for you. Also decide right away where you will need to secure it.
Step 2
Install icons on the dashboard of your car. The very first place where these sacred images should be is your vehicle, since it is a source of increased danger. In churches and specialized stores, small icons are sold with the image of St. Nicholas the Wonderworker, the Mother of God and Jesus Christ. As a rule, they come in a set, and there is a Velcro on the back. So, tear off the protective layer, attach the icons to the place so that they do not interfere with your driving. Press them well and then do not touch them with your hands. In a couple of hours they will be perfectly secured.
Step 3
Stick the icons in your room on the wall. Another place where icons can be is living quarters. In this case, you can use your imagination. There is one great method that will allow icons to be fixed for a long time. So, take a bar from any tree. Saturate it with linseed oil so that it does not fade. Attach it to the wall or to the corner of the wall. See if there is enough space on it to secure all the icons. If so, go to the next step.
Step 4
Measure with a pencil several places, preferably 4-6 (bottom, top and middle), in which you will need to drill holes in the wall and the bar at the same time. Attach a bar to the wall, take a drill and do the job. Do not make the holes too large. Let them be about the length of the screws. Next, take a Phillips screwdriver and screw the screws into the resulting holes. That's it, the frame for fixing the icons is ready.
Step 5
Screw the icons into the fixed block using the above technology. This is usually done with the top side of the icon, since they are sold with a small hole. You can also use a hammer and nails for this purpose. Although you can always unscrew the screws if necessary. Your icons are now well anchored.


