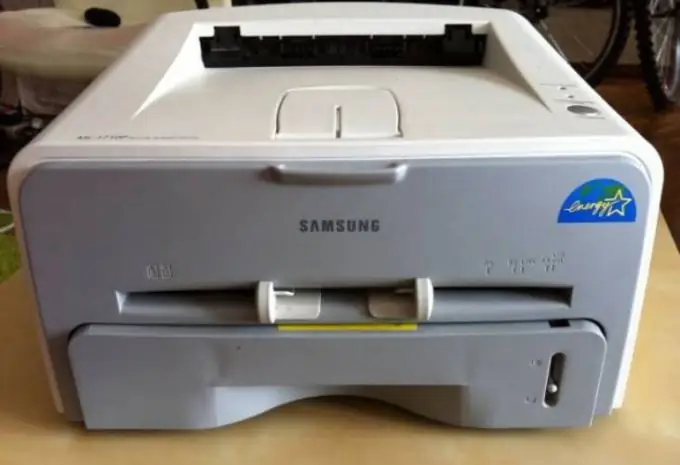
With some types of printers, it is periodically necessary to clean the toner cartridge. To do this, you need to properly remove the toner supply container, and in some models of printers, also perform an additional zeroing of the waste ink counter. These operations must be performed with the utmost care so as not to disrupt the functionality of the device.

Necessary
- - screwdriver;
- - service program.
Instructions
Step 1
For the Samsung ML1450 and similar models, to remanufacture the toner cartridge, disconnect the toner supply container from the rest of the cartridge by unscrewing the two screws on both sides of the container.
Step 2
Now unscrew the two remaining mounting bolts that are located at the top of the bin.
Step 3
Press down on the top of the container until it comes off the cartridge. Be careful when doing this as there may be toner residues in the container.
Step 4
Remove the trash can by detaching it from the cartridge body. Remove the compartment slowly and carefully, as toner may spill from the waste container if not handled properly.
Step 5
After removing the container, proceed with the dismantling of other components of the device, if required by your plans. If necessary, clean the container and reinstall it in reverse order.
Step 6
In the Canon IP1500 printer, when there is a problem with printing a document, a message will sometimes appear stating that the waste ink tank is full. Perform additional operations to eliminate the malfunction. First, download and install a program to reset the used ink counter.
Step 7
Unplug the power cord and open the printer cover. Press and hold the power button of the printer for a while while plugging in the cable.
Step 8
Close the cover of the device and release the button. Now unplug the interface cable from the printer and plug it back in after a few seconds.
Step 9
Run the utility on the computer, select the desired USB port and the desired zone. If a window appears with multiple question marks, remove the ReadOnly attribute from the Pattern.prn file.
Step 10
Press the “Resume” button four times to reset the waste ink counter. Then press the power button twice. After that, the printer will turn on with the changed settings.


